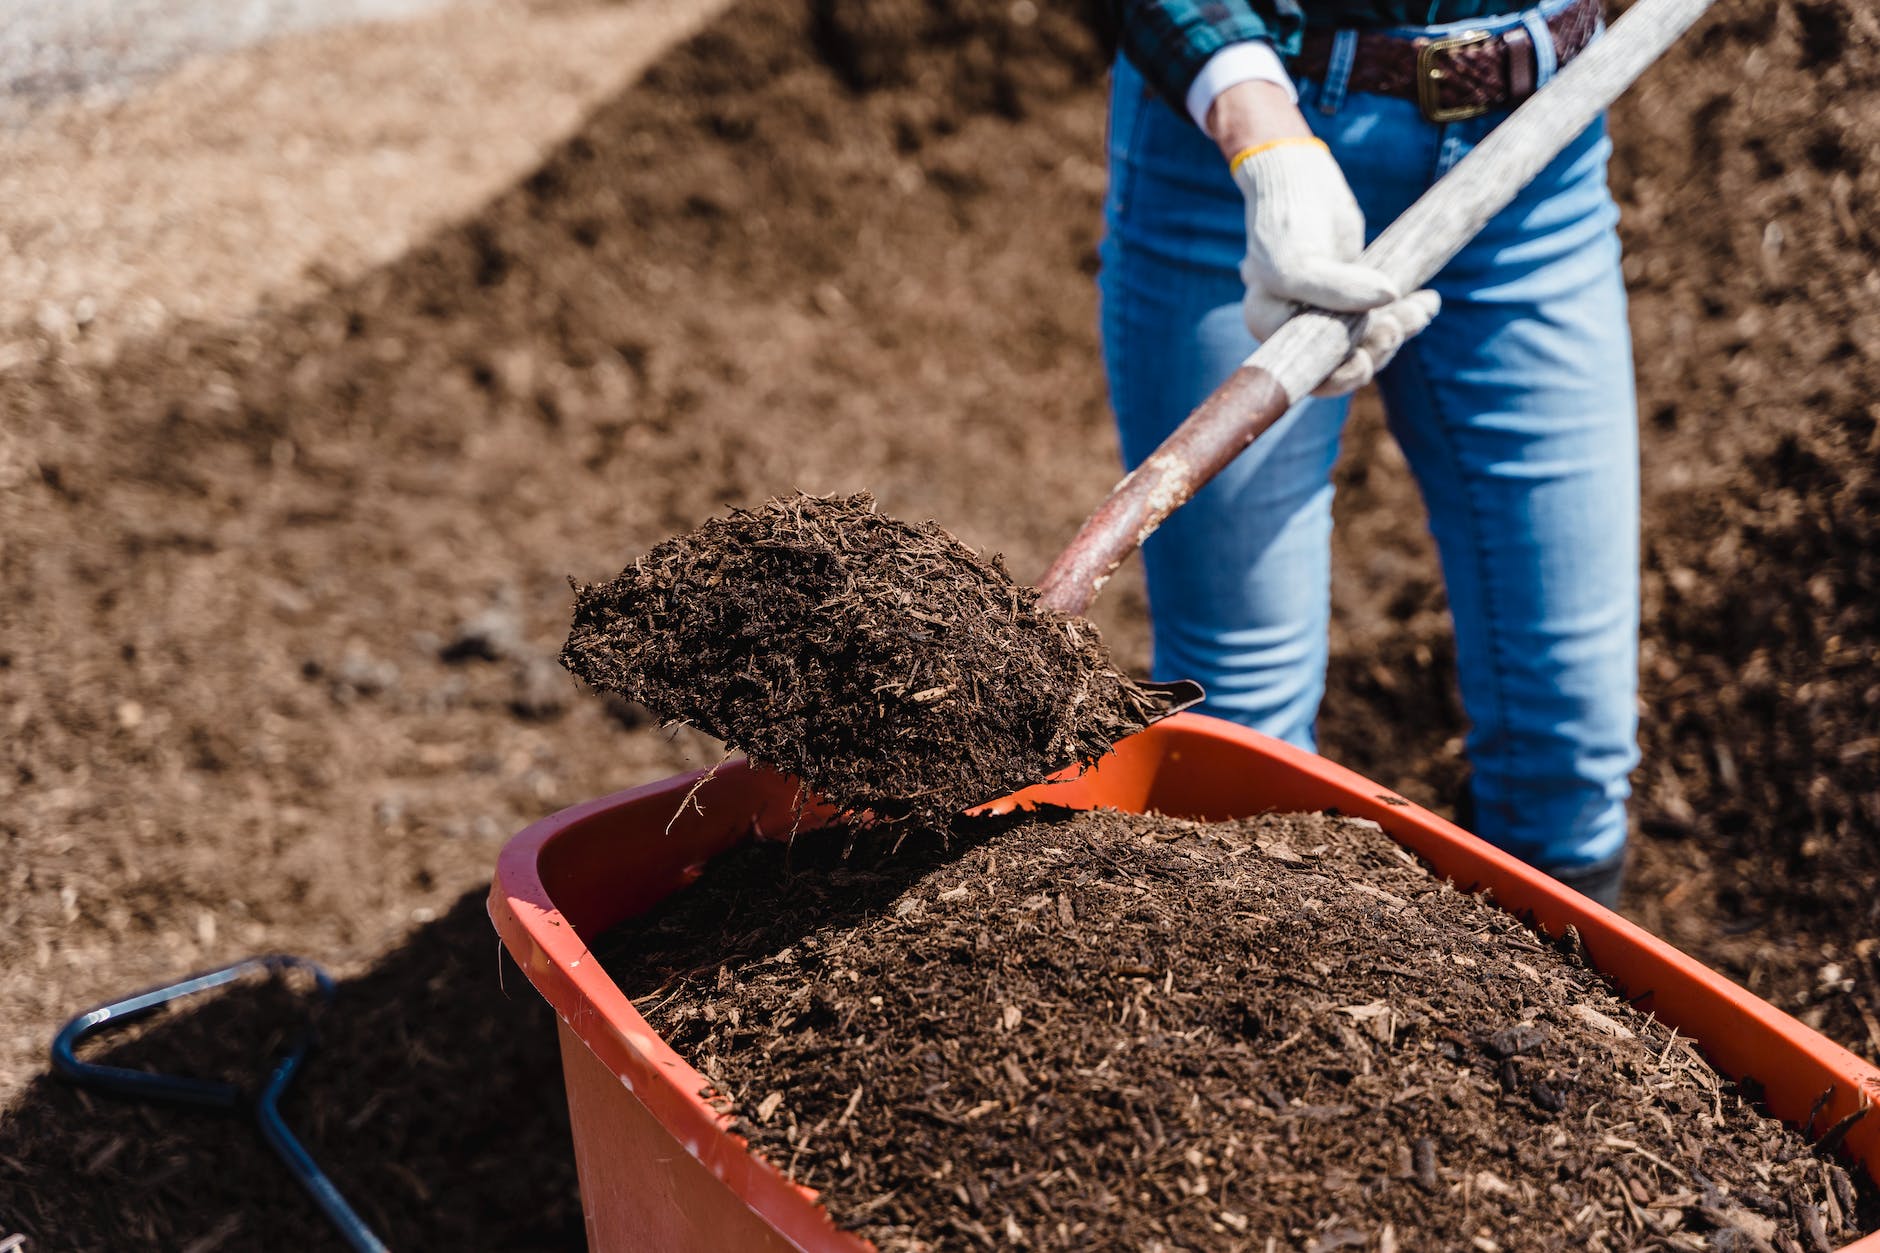
Whether you’re new to home gardening or a seasoned expert, our collection of 50 composting tips will help. Enjoy!
1. Grass clippings add necessary nitrogen to a compost pile, but be sure to mix with the “brown” materials that add carbon. Both are necessary for quick decomposition and rich compost. Piles made up of just grass will compact, slow down and start to stink.
2. Do not compost fats, pet droppings or animal products. They will attract pests to the pile and can spread disease.
3. Newspaper or plain white paper from the computer is excellent for composting – just remember to shred it first to speed up the process (see Composting Paper).
4. Got compost? When finished it should look, feel and smell like rich, dark soil. You should not be able to recognize any of the items you put in there.
5. Worms love coffee grounds!
6. If adding ashes to your compost bin, do so sparingly. They are alkaline and affect the pH of the pile. In contrast, acidic materials include pine needles and oak leaves.
7. Plants that have been treated with pesticides and/or herbicides (weeds and lawn clippings) should be avoided. When in doubt, throw it out!
8. The microbes responsible for breaking down your compost pile need a balanced diet of nitrogen and carbon. Nitrogen comes from green materials such as food scraps, manure and grass clippings. Carbon comes from brown materials such as dead leaves, hay, wood chips and shredded newspaper. A ratio that contains equal portions by weight (not volume) of both works best.
9. Algae and seaweed make excellent additions to your compost pile. Be sure to rinse off any salts before using.
10. Composting bacteria work best under neutral to acidic conditions, with pH’s in the range of 5.5 to 8.
11. Finished compost is usually less than half the volume of the materials you started with, but it’s much denser.
12. The more you add to your pile at one time, the more it will heat up. In other words, one “super-sized” meal is better than several smaller snacks.
13. Keep your compost pile in a black plastic bin and in direct sunlight to continue the composting process through winter. Hay bales can be used to further insulate the pile.
14. Clean wooden pallets make excellent compost bins. Start with one pallet on the ground. Drive two metal stakes into each side. Slide additional pallets over each support and you have a bin ready for compost.
15. Straw is an excellent source of carbon for your compost pile. However, it may contain weed seeds, so make sure the pile is “cooking” properly.
16. The ideal temperature range for a worm bin is between 55-77°F. Relatively compact, they can be kept in a basement or insulated garage – even under the kitchen sink!
17. The perfect size for a compost pile is one that is at least 3′ x 3′ x 3′. It’s not only a manageable size to turn, but it’s ideal for retaining heat while still allowing air flow.
18. The more “green” materials you add to the pile the less water you’ll need.
19. Most kitchen waste, including vegetable peels, fruit rinds, coffee grounds, tea bags and egg shells, can be fed to worms. Meat and dairy products should not be used in a worm bin.
20. Compost decomposes fastest between 120-160˚F. Decomposition will occur at lower temperatures, but it takes much longer. Purchase a compost thermometer to measure the core temperature of your bin or pile.
21. Purchase a kitchen compost pail and there’s no need to run out to the pile after each meal – just lift the lid and toss-in table scraps. They’re fitted with activated carbon filters to eliminate odors and look great too!
22. Maintaining a carbon to nitrogen (C:N) ratio somewhere around 30 parts carbon to 1 part nitrogen is ideal for quality composting.
23. Many nitrogen-rich materials, like grass clippings, lack structural strength and collapse during decomposition. Mix in hedge trimmings, shredded newspaper and other fibrous materials to improve air circulation.
24. Don’t throw away your kitchen waste in the winter – try an indoor composter.
25. Compost piles should remain damp but not wet. As you build your compost pile, make sure that each layer is moist as it is added. The surface should also remain damp (think of a wrung out sponge), especially during the summer months.
26. Redworms do best if the pH is around 7.0, but can tolerate levels from 4.2 to 8.0 or higher.
27. Does your compost pile smell? It’s probably due to a large number of anaerobic microbes, which are working hard to break down your compost, but creating a smelly situation in the process. To cut down on the anaerobic process, aerate your pile regularly, creating air spaces and limiting the anaerobic microbes while stimulating the less stinky aerobic microbes.
28. Meat and fish can be composted, but your bin must be animal proof and it will attract flies. In most cases, these materials should be avoided.
29. Help start a new compost pile with aged manure, cottonseed meal, alfalfa meal, blood meal or compost starter. They are rich in nitrogen and help jump-start the microbes responsible for breaking down organic matter into compost.
30. A bin that is working well will produce temperatures of 140-170°F.
31. Anything that was living at one time is great for compost bins. Think of leaves, vegetables and grass clippings.
32. Compost piles can either be layered – thin layers of alternating greens and browns, or they can all be thrown in together and mixed well. Either way works!
33. Woody stalks and corn cobs from the garden have a tendency to decompose slowly. Smash them with a hammer or rock to make it easier for the microorganisms in your pile to break them down.
34. No problem. Worms can be left for a couple weeks, just feed them a little more before you go. If you will be gone for more than 3-weeks, it’s probably a good idea to get a worm-sitter.
35. For faster results, use a compost turner every two weeks to aerate your pile.
36. Soak finished compost in water to “brew” compost tea, a nutrient-rich liquid that can be used for foliar feeding or for watering your flowers, herb, vegetables and practically anything else that grows.
37. Apply finished compost to your garden about 2-4 weeks before you plant, giving the compost time to integrate and stabilize within the soil.
38. The main reason a 30:1 C:N ratio is recommend in your pile is for odor and pest control. While a 20:1 or even a 10:1 ratio will provide faster decomposition – odors and pest problems will become a real issue.
39. The best worm to use in a home vermicomposting system is by far the Red Wiggler (Eisenia foetida). In its natural habitat, it consumes large amount of leaves, manure and many other decaying materials. It also produces copious amounts of castings (worm poo), an excellent addition to any garden.
40. Add too many “browns” to the mix and your pile will take years to break-down. Add too many “greens” and it will turn into a smelly heap.
41. Exposed piles and bins can become water logged in rainy weather and dried out in hot climates. An enclosed tumbler or covered bin will protect the contents and help with moisture control.
42. Chop yard and garden waste into smaller pieces (a lawn mower works great!) to speed the decomposition process.
43. Finished compost can be used to build soil anytime of year without fear of burning plants or polluting water. In the garden, there is no such thing as too much compost.
44. Worms can be used to convert pet poop into castings, a nutrient-rich soil amendment, and because they eat the odor producing bacteria, there is very little smell. Castings from pet waste should not be used in vegetable gardens.
45. Lawn clippings and food scraps are about 80% water and need to be mixed with straw, woody waste or cardboard to keep your pile from becoming a slimy mess.
46. A good potting mix recipe contains equal parts of compost, sand or perlite and garden topsoil. Compost is often too heavy to be used alone in containers.
47. Low C:N ratios (excess nitrogen) can be raised by adding “brown” materials, such as peanut shells, sawdust or shredded cardboard.
48. Grab a handful of compost from the center of your pile and squeeze. If you get a few drops of water, that’s perfect.
49. An easy way to use compost is to mulch with it. Apply it in a thick layer around plants and worms will help mix it with the soil below.
50. Relax! Even if you do everything wrong, you will eventually make great compost.


